Skip to Content
Chainsaws
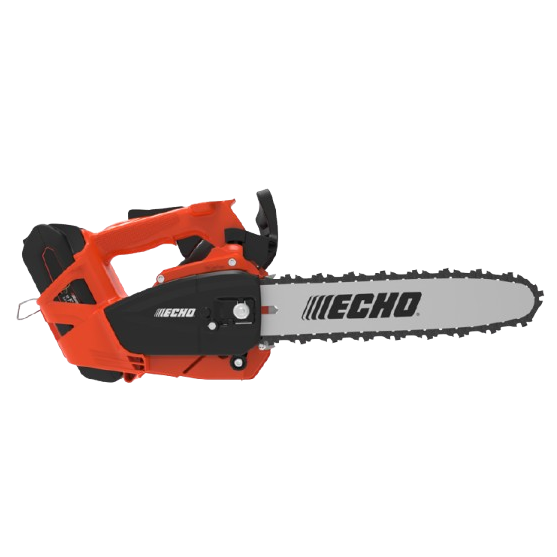
Guide Bar and Saw Chain Installation and Removal
1
Release chain brake (A).
2
Loosen sprocket cover nut (B).
3
Remove sprocket cover (C).
4
Install spiked bumper (D). Secure with 2 bolts.
5
Mount guide bar (E) and slide toward sprocket (F) to make saw chain installation easier.
6
Install saw chain as shown. (Ensure cutters are pointing in the right direction.)
7
Install the sprocket cover over the guide bar stud. Ensure that chain tension adjuster (G) fits into guide bar hole.
8
Tighten sprocket cover nut finger tight.
9
Hold the guide bar nose up and turn the adjuster (H) clockwise until the chain fits snugly against the underside of the bar.
10
Tighten sprocket cover nut with bar nose held up.
11