Skip to Content
Chainsaws
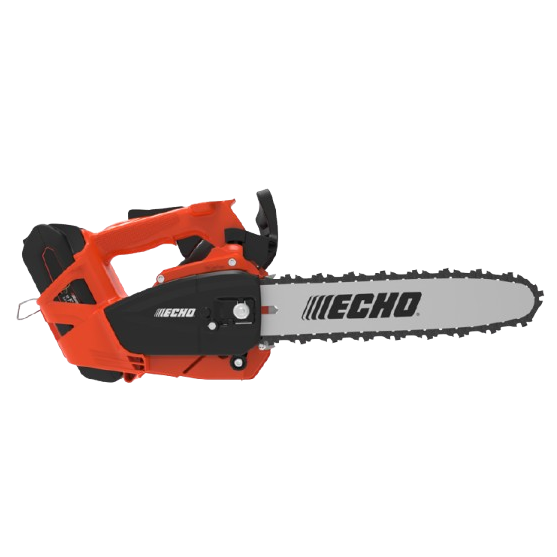
Guide Bar and Saw Chain Installation and Removal
1
Raise the handle (A) of the sprocket cover knob (B).
2
Loosen the sprocket cover (C) by turning the sprocket cover knob (B) counterclockwise.
3
Remove the sprocket cover (C).
4
Mount the guide bar (D) and slide toward sprocket (E) to make saw chain installation easier.
5
Ensure that chain tension adjuster (F) fits into guide bar hole.
6
Install saw chain as shown (ensure cutters are pointing in the right direction).
7
Install sprocket cover onto guide bar stud. Tighten sprocket cover knob four turns.
8
Hold the guide bar nose up and turn the chain tension knob (G) clockwise until the chain fits snugly against the underside of the guide bar.
9
Tighten sprocket cover knob with the guide bar nose held up.
10